Hello dear friend. We’re at Easter. How fast time passes!
To be able to enjoy a tasty Mona on Easter Monday (traditional Catalan Easter cake), now I am going to elaborate it. You can not miss this traditional dessert!
Will you come with me? Well … hands to the dough!
How to make the “Mona” cake?
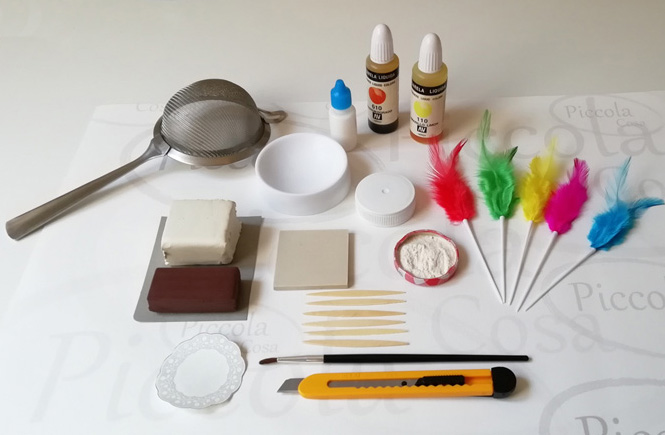
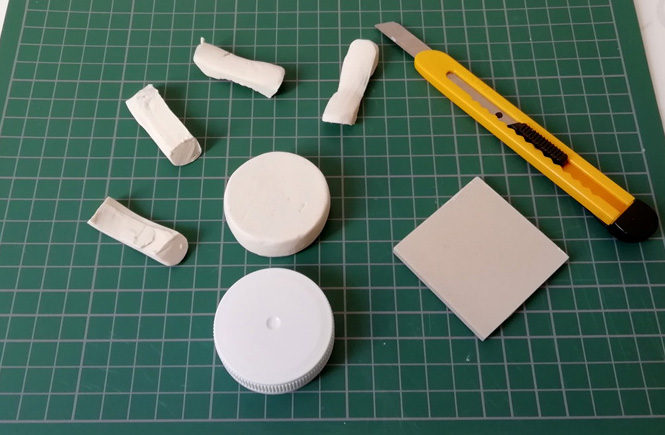
Material needed:
- white plasticine
- brown plasticine
- aniline (liquid watercolor) golden brown
- aniline (liquid watercolor) lemon yellow
- an small lid
- a hard piece to flattem
- one brush
- white glue
- flour
- a colander
- scissors
- one cutter
- sticks
- feathers
- kitchen paper
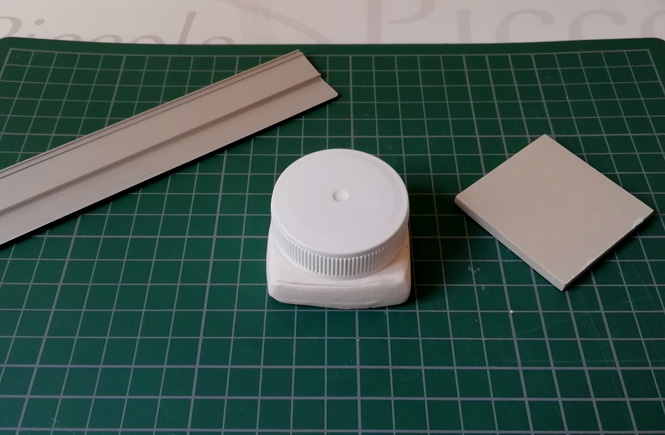
To make the biscuit dough, we flatten the white plasticine until we achieve a square shape with a thickness of just over 1cm and, by slightly sinking the lid of a pot on the surface, we will obtain the measure of the diameter of the cake.
We cut it with a plastic knife or cutter.
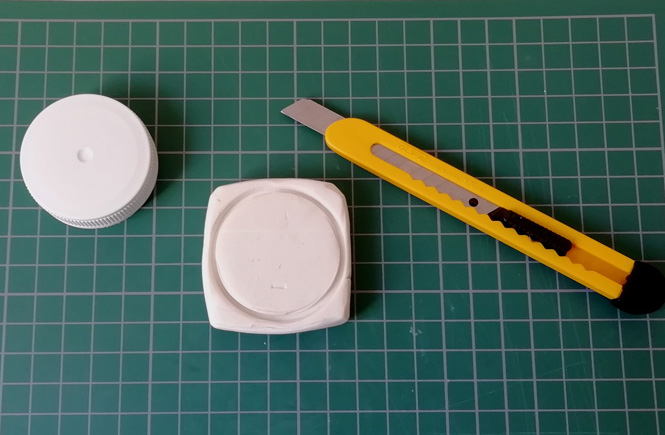
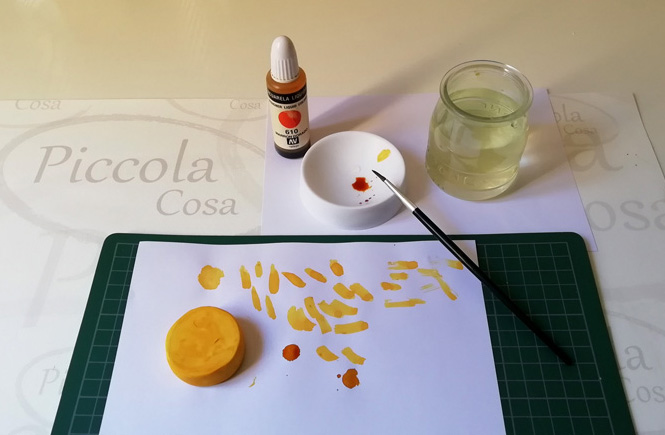
Then with a brush we paint the laterals and the base using liquid watercolor of golden brown color or a tone that reminds us of the color of the sponge cake. The watercolor will fix more to the plasticine with very little water.
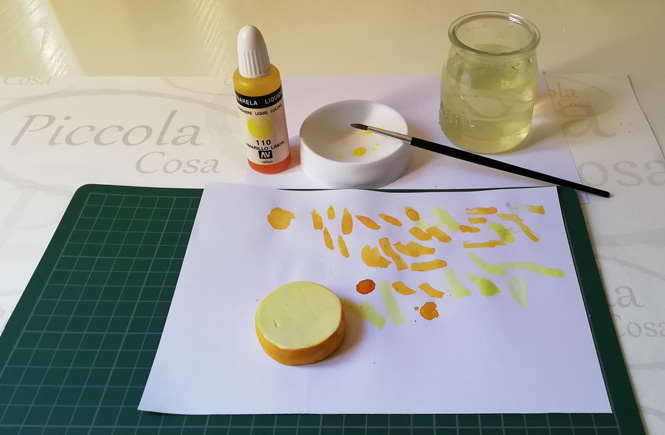
The top of the cake, is painted in light yellow, simulating butter.
How the almonds are made?
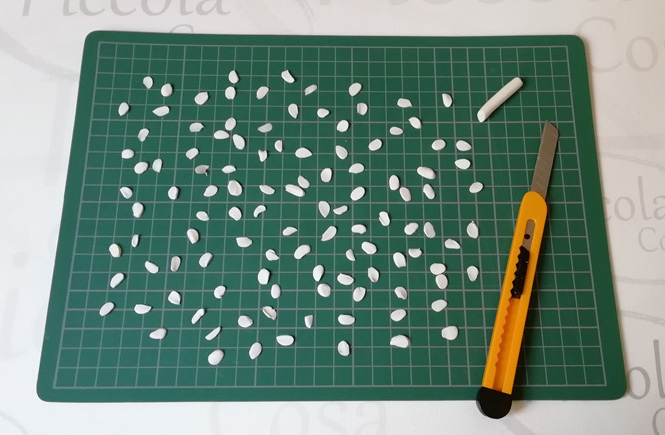
With the same white plasticine we make a long strip of about 6 or 7mm thick.
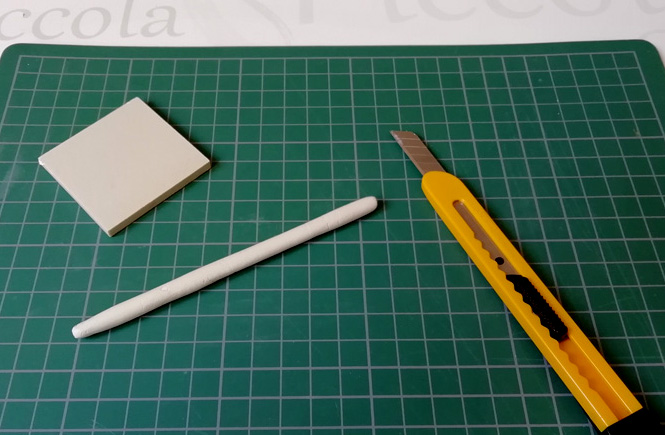
We cut it with a cutter in very thin slices, trying to imitate the shape of the rolled almonds. The ideal is to take the plasticine strip with one hand and with the other the cutter, and cut it … as when we cut potatoes to make a Spanish potato omelet!
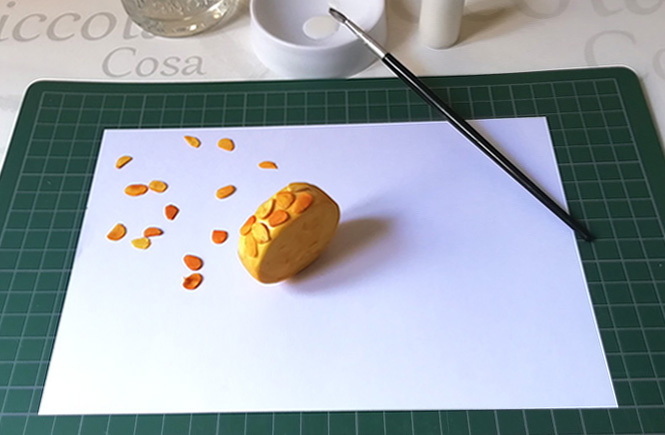
And now we have to gild the almonds!
For this we pour a little liquid watercolor in a small container. With the flat part of the cutter we take the almonds one by one and bathe them for only a few seconds. To get them out we helped ourselves with two chopsticks.

Stick the almonds starting with the sides of the cake. We apply white glue in a small area and stick four or five almonds. In this way the glue does not dry.
Then we cover the top part.
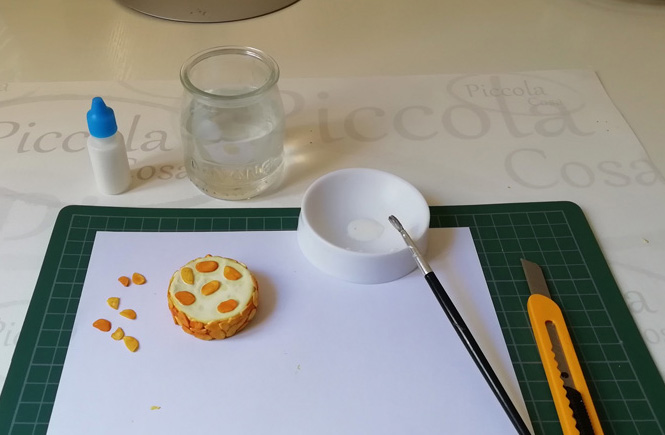
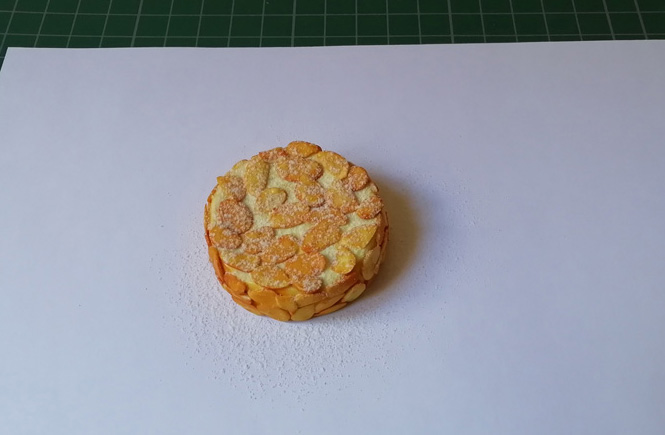
We leave a bit of separation between them so that you can see the layer of butter and there is more contrast. And then proceed to sprinkle with a little powdered sugar.
For this, and as a snow way, we drop a little flour through a colander. If any of the almonds would have gilded more than enough … with the flour it will clear up …!
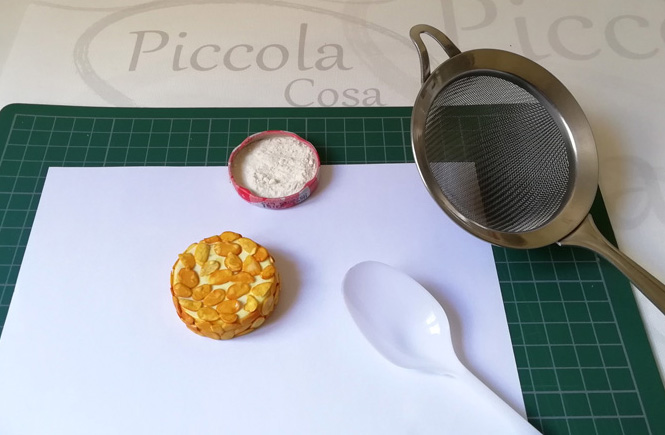
And this is the final result of this second part of the cake.
Do we continuing?
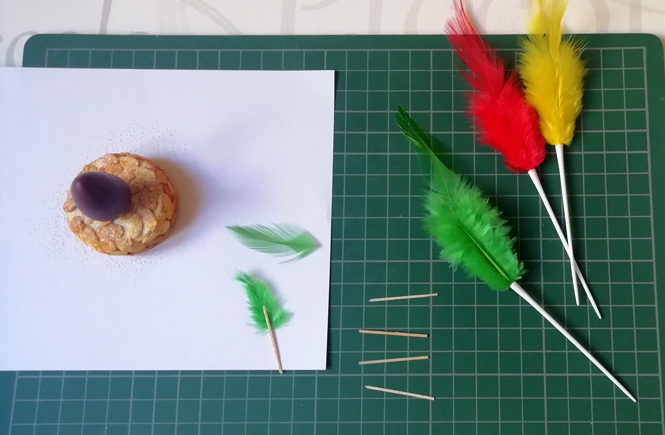
To make the chocolate egg we use the brown plasticine and we make a shape like the one you see in the image,
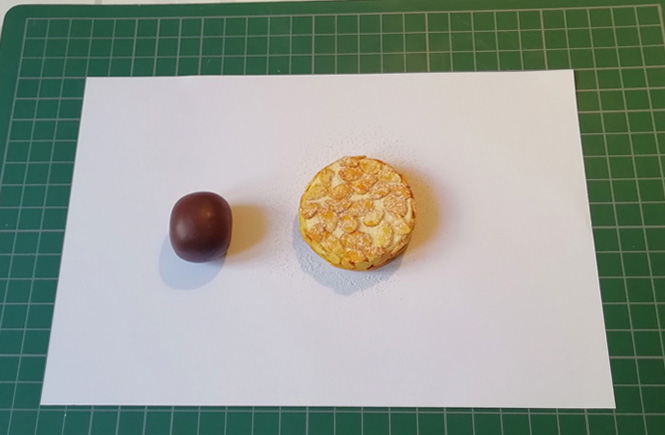
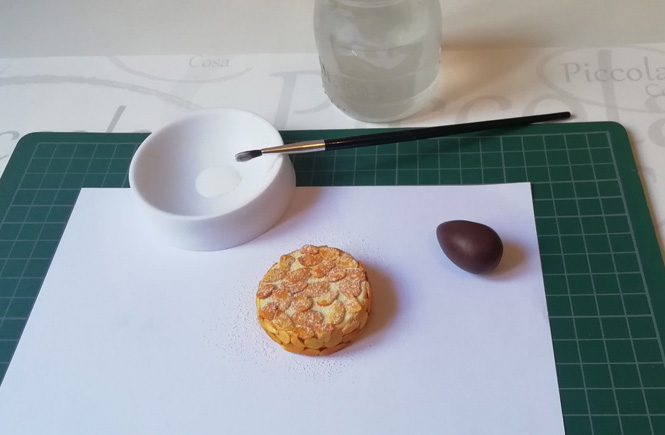
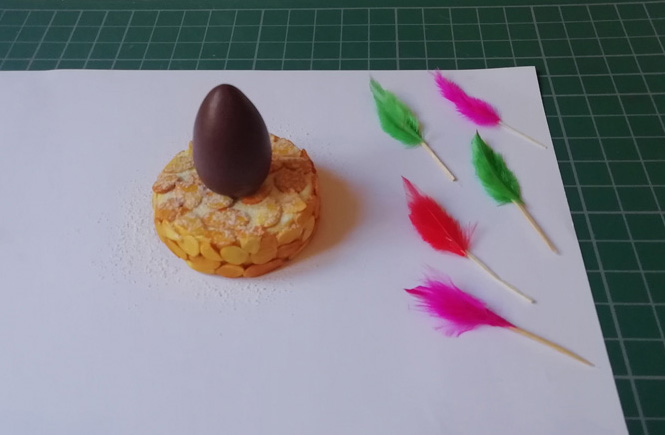
With this we already have the egg base. It’s just a matter of molding the top part, narrowing it more and more. With a brush we apply white glue right in the middle of the cake and paste the egg.
And now the inedible part comes …
The colored feathers!
How are feathers made?
We will use the typical colored feathers that usualy decors the Easter cake. We have to calculate a size proportionate to the cake and the chocolate egg. For this we select those parts of the feather that may be better and cut them carefully.
We need a very thin part of the toothpick.
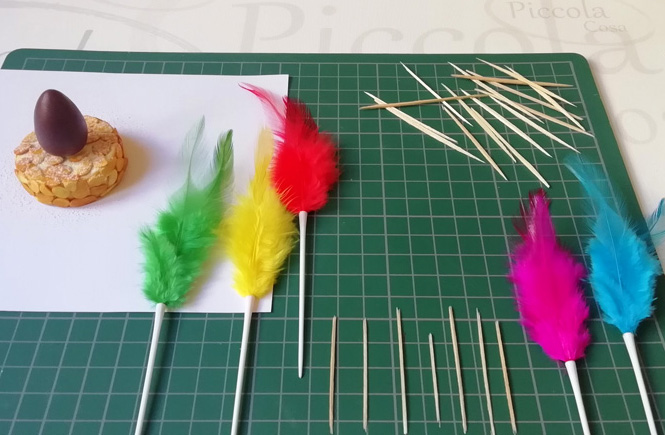
Once we have cut the mini feathers, glue the stick behind them
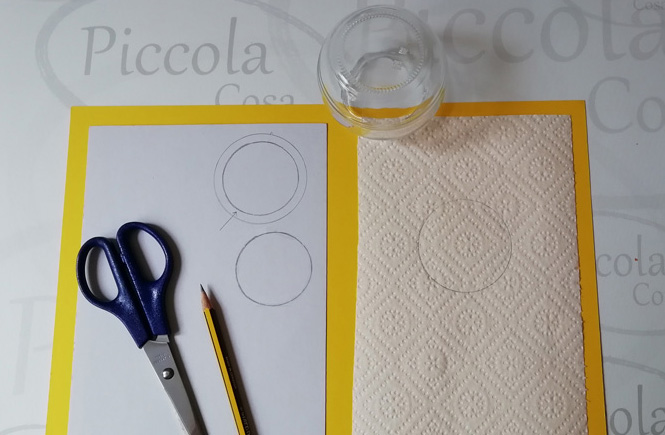
How do you make the doilies?
We can use the doilies that comes in the PASTRY ambiance kit or make a new one.
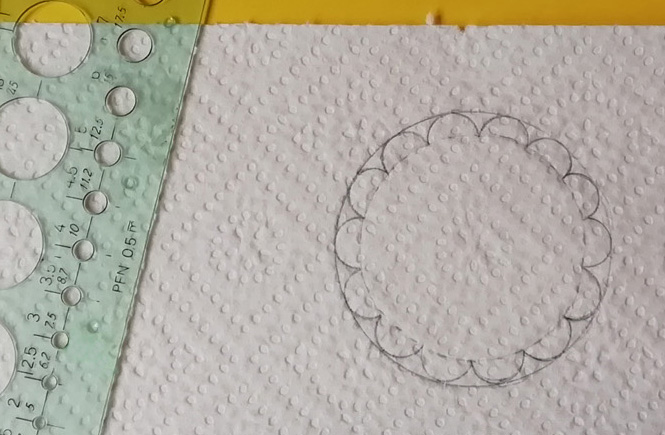
To make a new one, we draw three circles with the help of a compass or a bottle placed inside out. On a cardboard we draw two circles of equal size and a larger circle on the back of a kitchen paper. We must calculate that the latter has a larger diameter than the cake; at least 2cm more.
We cut out the circles of the cards. The larger we use as a template to make the diameter of the doilies on the kitchen paper. We draw the small circle inside the big one. With the help of a round template we draw half moons between the two.
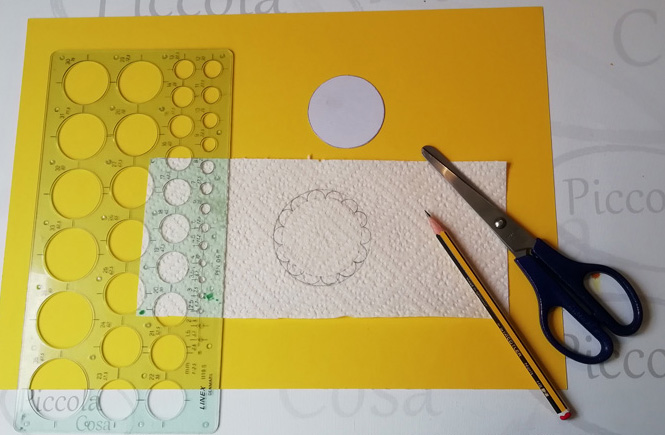
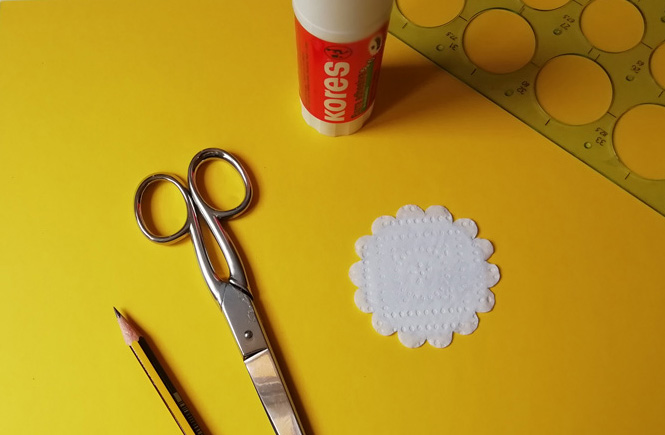
We cut out the silhouette of the half moons with fine scissors and rotated the doilies. At its base we paste one of the small circles to reinforce it.
We place on top the other circle, without glueing, and with the fingers we are folding the half moons inwards one by one.
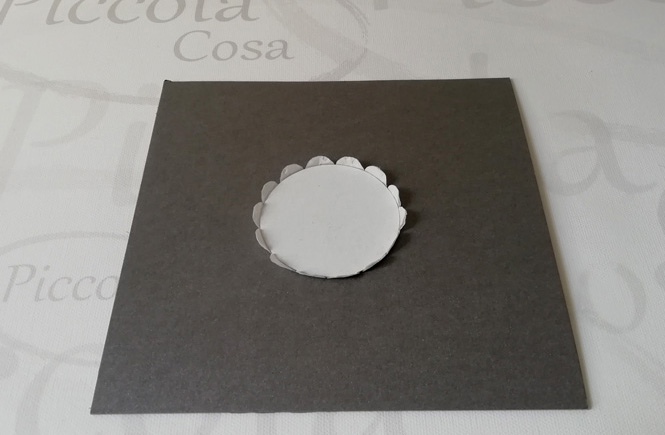
We remove the cardboard circle and we only have to place our cake on the doilies..
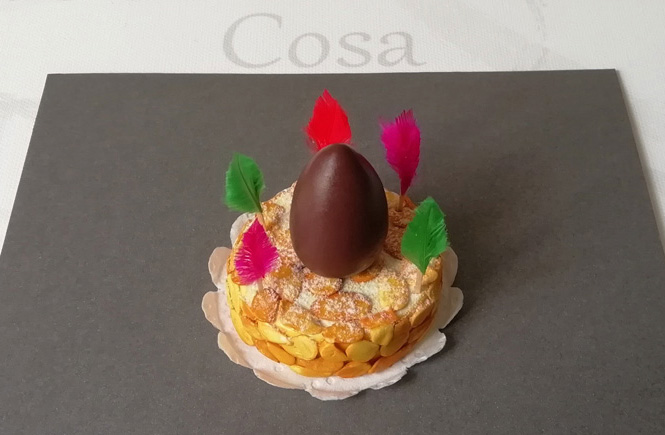
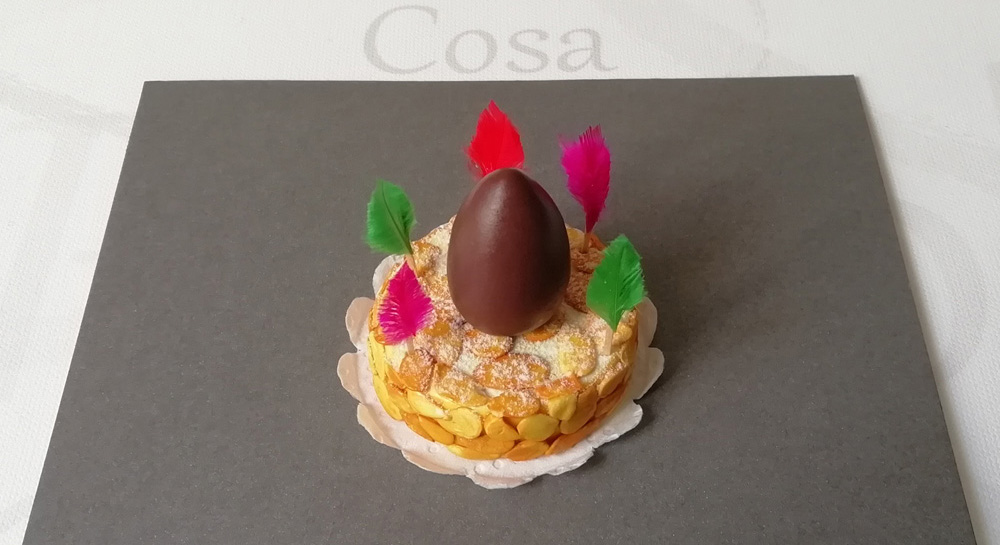
And here we have it! Ready to polish off the cake in no time!
But you have to be patient. Until Easter Monday … not even touch it!
I hope that you encourage yourself to make your personal and fun Mona de Pascua and do not hesitate to send it to me so I can share it. Even if it’s just the image ..!
HAPPY EASTER!!