
Christmas is just around the corner!
For some weeks now we have seen clear signs that Christmas is very close. One of them is … the Christmas TREE.
We see all over the place, but the ones that strike me most are those that decorate and illuminate the doorways of our cities’ buildings. Each one with a personal touch of their own which, at nightfall, attract our eyes with their warm lights …
That’s why I’m so excited to create one to decorate my pastry shop. Let’s start then!
How do we make our Christmas tree?
We’ll need: a sheet of paper, tracing paper, green cardboard, a cutter or scissors, a ruler, a pencil and a cutting base if you are going to use a cutter.
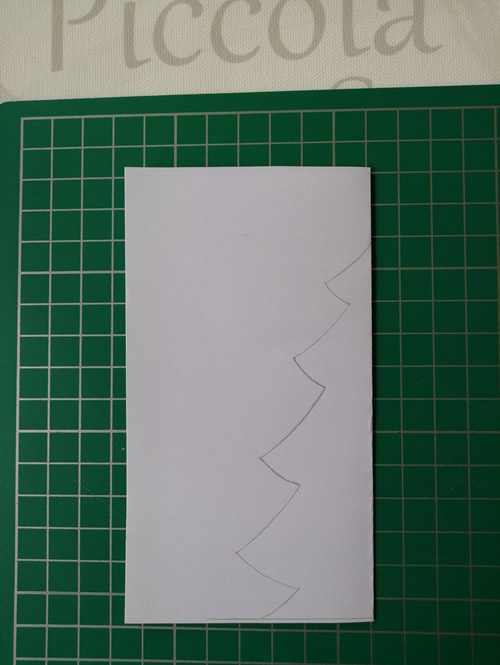
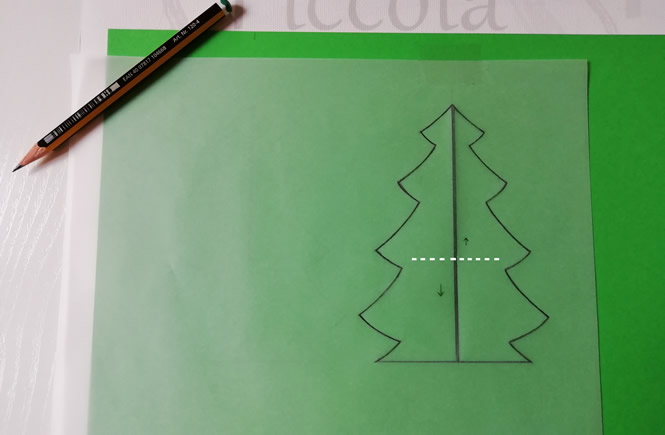
PSo that both sides of the tree are symmetrical, first draw the left part, fold the paper, trace around the drawn part and cut it out.
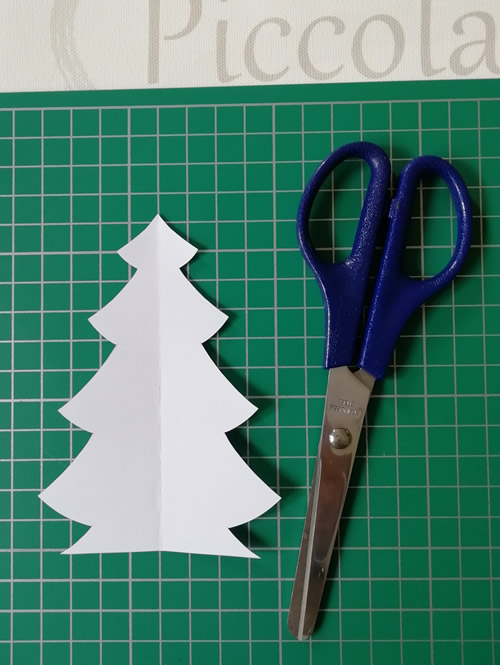
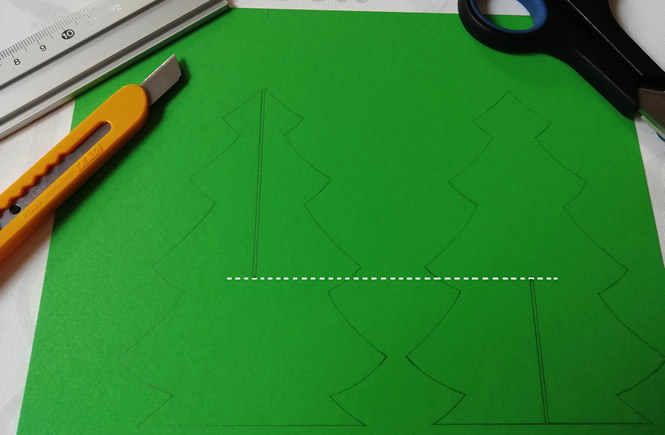
Since we need two parts to make the tree, we make another one identical to the one we have made. For this we trace it using tracing paper.
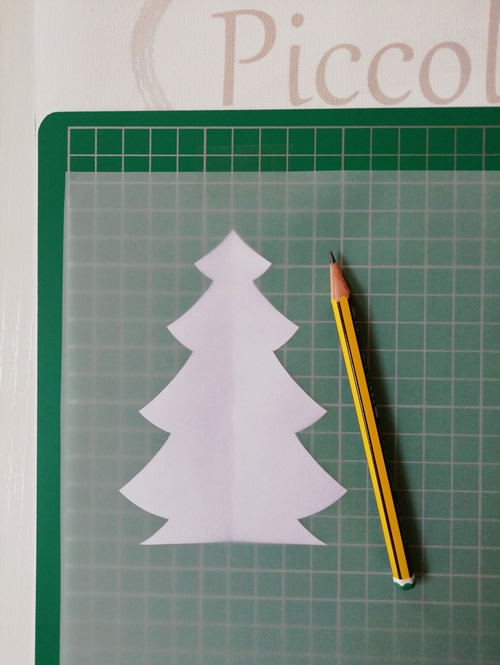
Once we have traced it, we mark it with a pencil and transfer it to a thin piece of cardboard. I have previously marked a vertical line and a horizontal line. They will help me to make the cuts that I will in each of the parts of the tree. These must fit well. The measurements may be different from the ones shown here, as long as the end of the lower cut coincides with the beginning of the upper cut.
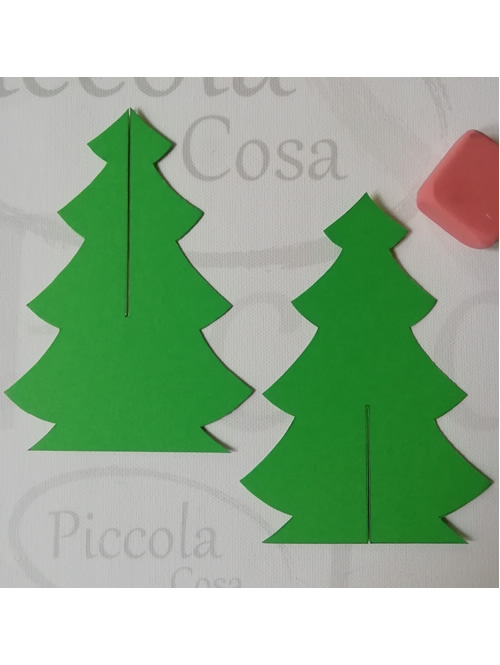
When we assemble the two parts you will see that they fit and hold up perfectly. And so that the upper ends are well secured, I’ll show you a trick later.
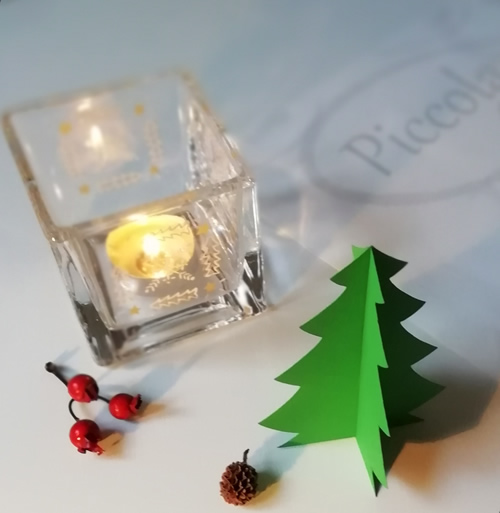
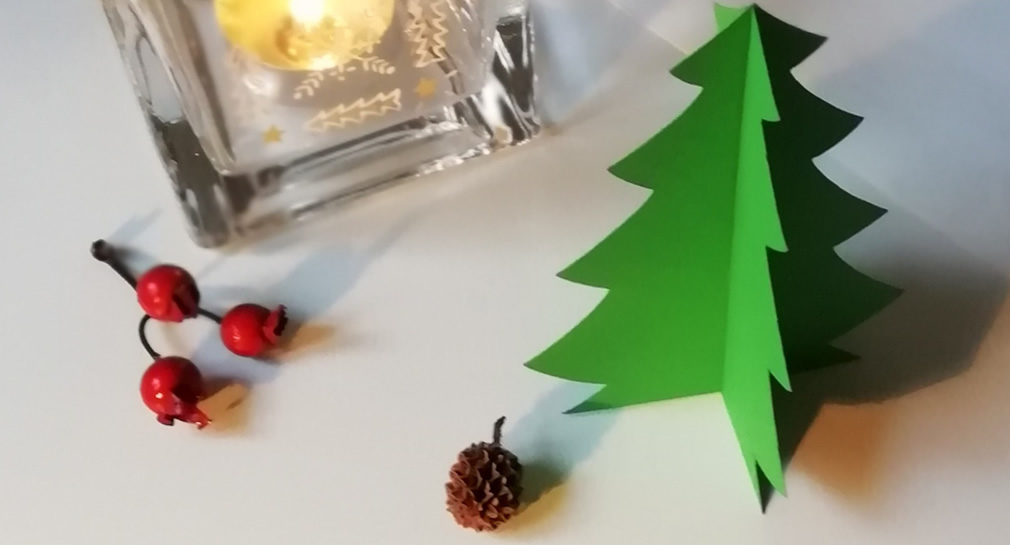
I have prepared some ornaments to hang from the tree.
Tip: If the side tips make them more turned up, they will last much better. If you follow me, you will see why!